THE DYNAMIC DIGITAL TWIN
FACESCAN INTEGRATION
Introduction
Among the latest digital tools, the facescan has made a name for itself :
• It facilitates practitioner-patient communication
• It facilitates the dental technician's work in the laboratory
In the case of global and aesthetic restorations, this new tool allows to adapt the prosthetic project to the patient's physiognomy.
How can the facescan be used in the 3D/4D workflow, and what possibilities does this new data offer? Follow us step-by-step through an aesthetic rehabilitation.

Step 1
Initial scan

Step 2
Acquisition of facescan

Step 3
Recording of mandibular movements

Step 4
Importing the facescan into TWIM

Step 5
Data transfer to the laboratory
Step-by-step
STEP 1 - INITIAL SITUATION SCAN
Scan the patient's 3D models with an intraoral camera.
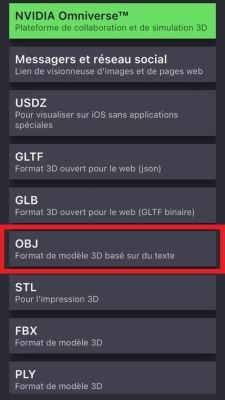
The MODJAW Tech in Motion device is compatible with files from any intraoral camera (STL, PLY or OBJ file).
STEP 2 – FACESCAN acquisition
Before acquiring the facescan, mark the following 3 skin reference points with a suitable pen:
• Right condyle
• Left condyle
• Subnasal point
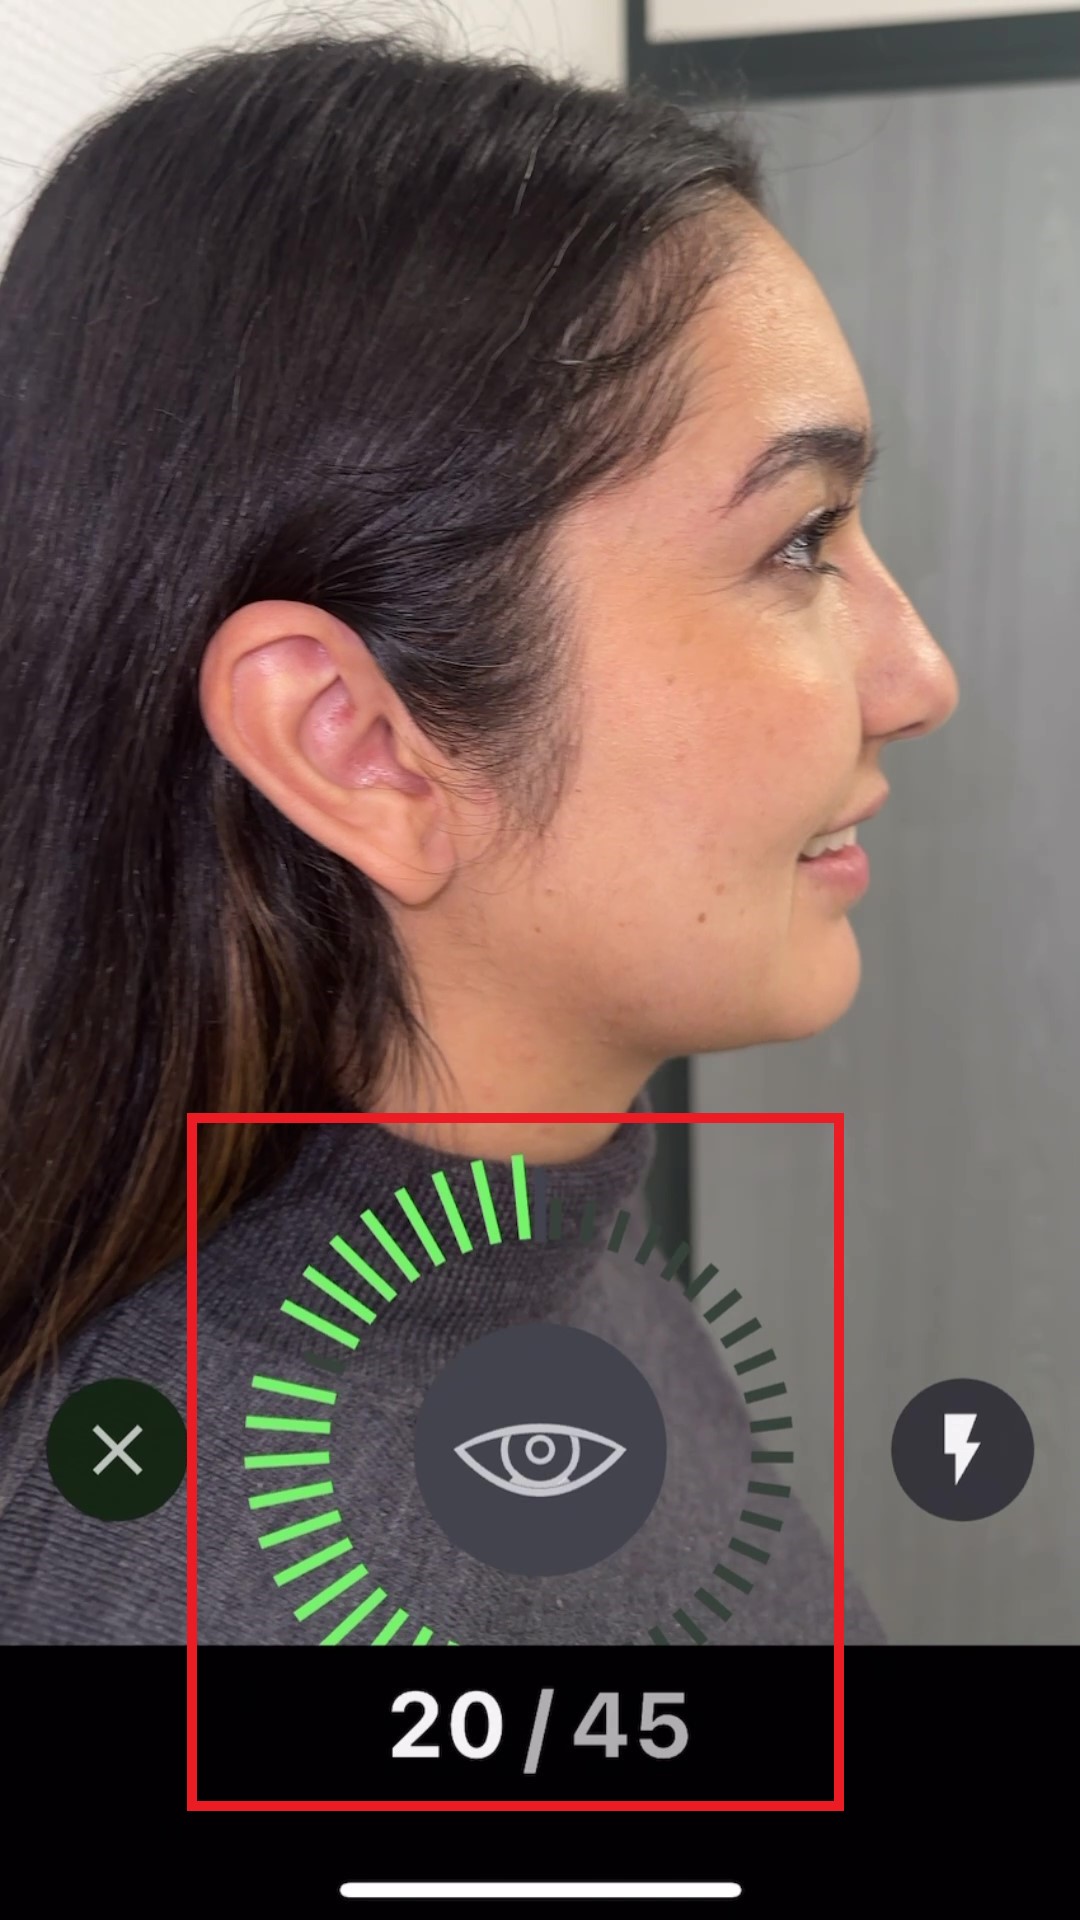
Open the facescan application and start a new scan by selecting the "Automatic" option.
From a standing position, ask the patient to stare at a point on the horizon and smile.
Scan the patient's face from ear to ear.
A minimum of 20 photos is required. Press the "eye" icon to complete acquisition.


To optimize the quality of the facescan, we recommend activating the flash while taking photos, by clicking on the button in the bottom right-hand corner.


For smoother file transfers, it’s recommended to install a secure server on your phone and on the computer of your MODJAW device.
STEP 3 - RECORDING MANDIBULAR MOVEMENTS
Launch TWIM application and create a new patient.
When acquiring the skin reference points, place the tip of the stylus on the points marked on the patient's face. It's recommended to press very gently and without exerting pressure when acquiring the points.

For greater stability when picking, place your finger below the stylus, as shown in the video.
STEP 4 – IMPORTING FACESCAN IN TWIM
Go to the patient page in TWIM and import the ZIP file directly into the "Face" insert.
Match the facescan on the patient's 3D scans by selecting the 4 anatomical points required on the screen
- right and left condyles
- nasion
- sub-nasal point
DISCOVER FACE PROPORTIONS
Calculate facial proportions for an assessment of the 3 face levels using the "Face proportions" function in the "AESTHETIC" module.
In the case of a reduced lower level, this feature is an additional aid for communicating with the patient and demonstrating the need for a new mandibular position.
STEP 5 – EXPORT DATA TO THE LABORATORY
Export your dynamic virtual patient from TWIM to the dental laboratory.
This data enables the dental technician to make assessments of the ideal orientation of the occlusal plane, with additional patient-specific esthetic data (inter-pupillary line, smile line, etc.).
BENEFITS
- THE INTEGRATION OF FACESCAN WITH MODJAW IS A SIMPLE AND ACCESSIBLE WAY OF :
- Improving communication with the patient
- Facilitating exchanges with the dental technician, giving him or her the opportunity to work on a digital twin
- Offering patients personalized treatment adapted to their morphodynamic data.

